Bath Bomb Basics
I don’t often take baths but when I do, I’m looking to relax and de-stress. With many products on the market these days, it’s hard to find something that works well but is also OK for sensitive skin.
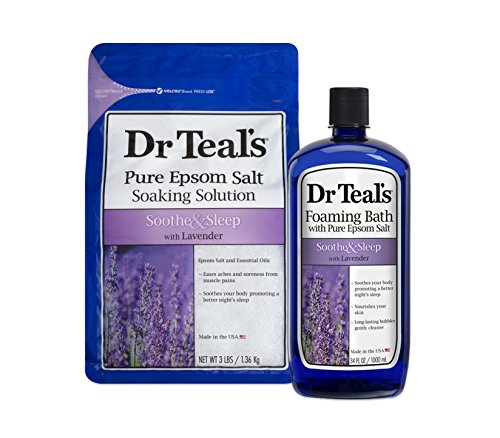
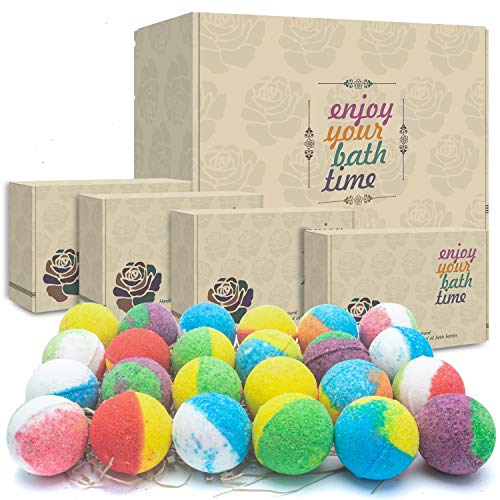
My go-to would be Dr. Teal’s Epsom Salt. It’s one of my favorites that’s cheap and can be kept on hand for when you need it. But what if you’re looking for something a little fancier? You might have already tried them, but if you haven’t Bath Bombs, are the BOMB! Not only can you make them at home; a great way to entertain the kids for a while, but you find awesome brands out there for your favorite scents!
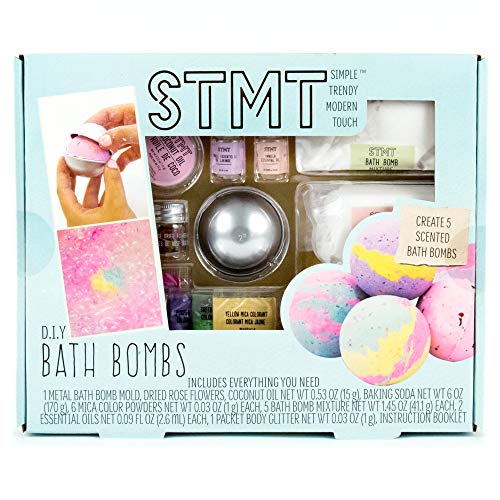
DIY Instructions
SHOPPING LIST:
Directions
Measure out and whisk together the dry ingredients in a large bowl. If you’re using dry pigment, you can add it to this mixture. If not, you’ll want to add it when you mix the wet ingredients.
Next, in a small cup, mix together the wet ingredients. This is also where you’ll add the essential oils too.
You need to add the wet ingredients to the dry ingredients. You’ll want to do this very slowly, adding little drops at a time while mixing. The citric acid is what causes the bath bombs to fizz when it comes into contact with water. Adding the wet ingredients slowly minimizes this effect, allowing you to create the ball.
Once mixed, you’re ready to mold. I picked up these bath bomb molds to create a ball shape. However, you can use things like a cupcake pan or silicon mold to achieve different shapes and sizes.
For this round mold, fill each half, packing it in slightly until it’s overflowing. Then, firmly press the halves together. Let the mold sit for one minute. Once set, tap the mold and pull it apart.
You’ll want to let the bath bombs dry for at least 24 hours before you create your own mini spa in your tub.